Email and mail campaign mechanisms can save you time communicating to all or selected clients in your database.
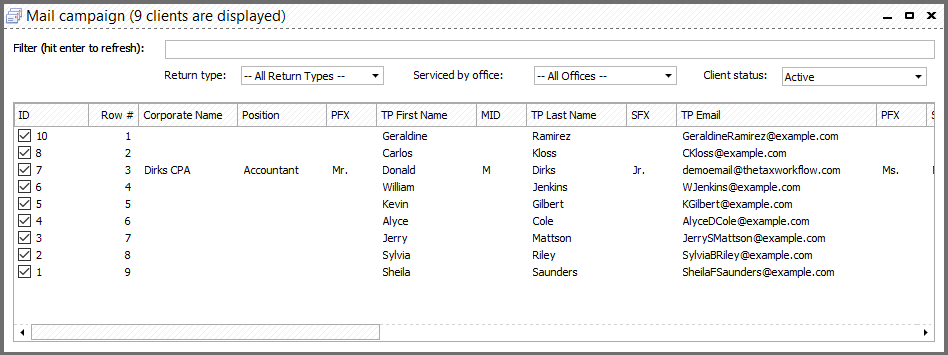
Mail campaigns. This function allows you to send messages to your whole list of clients or a subset using a predefined email template. Go to the “Clients>Mail campaign” main menu item to activate a mail campaign.
This will open the “Mail campaign” form which contains a list of customers who have a postal address that allows inclusion in the mail lists.
To activate an Email campaign, go to the “Clients>Email campaign...” main menu item.
This will open the “Email campaign” form which consists of three tabs. The “Clients” tab contains a list of all clients. "Campaign Problems" column of the grid shows you if the client is eligible for email campaign or not. To move clients to email list select clients in the grid and press "Move to emails list" button. Please note, you can select multiple clients from the list using "Select Multiple Clients" button:
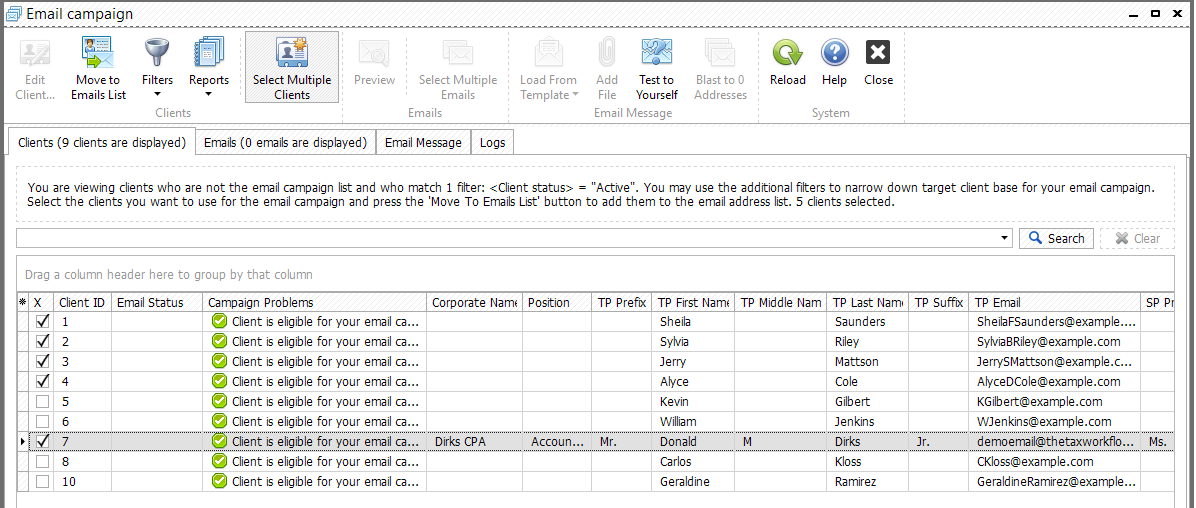
You can use a search bar, customizable filters and previously saved reports to find the clients you want to include in the campaign.
Tip: "To select all clients from the grid click right mouse button and choose "Select all" option."
The next tab is "Emails". Here you can find all email addresses of the clients and their spouses you've included in the email campaign. From here you can preview email(s):

Next you need to go to the “Email Message” tab:
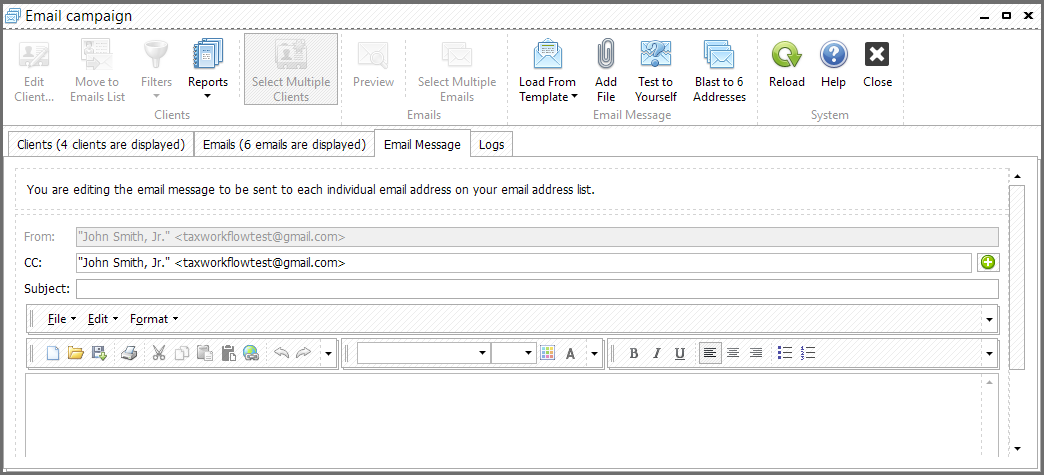
You outgoing email address will be displayed automatically. You may wish to add a "CC:" email addresses using semicolon as a delimiter or by clicking the green button to the right of the "CC:" field to make sure that your staff and/or some client(s) get a copy of ALL outgoing emails.
Next, specify the message’s subject line and create the message manually or load it from the template using an appropriate button. Please refer to Office Settings chapter of this guide to get familiar with template creation You can also attach files to the message.
Tip: "Easily add pictures copied from your internet browser to HTML template. Just copy the image and paste it in any place of the message."
Click the “Test to yourself” button to make sure your email settings are correct and the design template works as desired. The test message will be sent to your email address. You will see the confirmation dialog after the email has been sent to you.
In order to actually run the campaign, click the “Blast to N Addresses” button, where N is the number of clients checked in the previous tab. It may take a few minutes before the system processes your list, so be patient and wait until the email is complete. Be advised, that emails will be generated separately for each client. If there were no errors during the email, the system will notify you about the successful completion of the campaign. All logs are available in the "Logs" tab.