The office settings are system-wide settings affecting the behavior of the application for all users and computers, and includes templates, company information, security policy, and other rules. Only administrators can modify them.
To view or edit your office settings you need to select “Administration”>”Office settings…”.
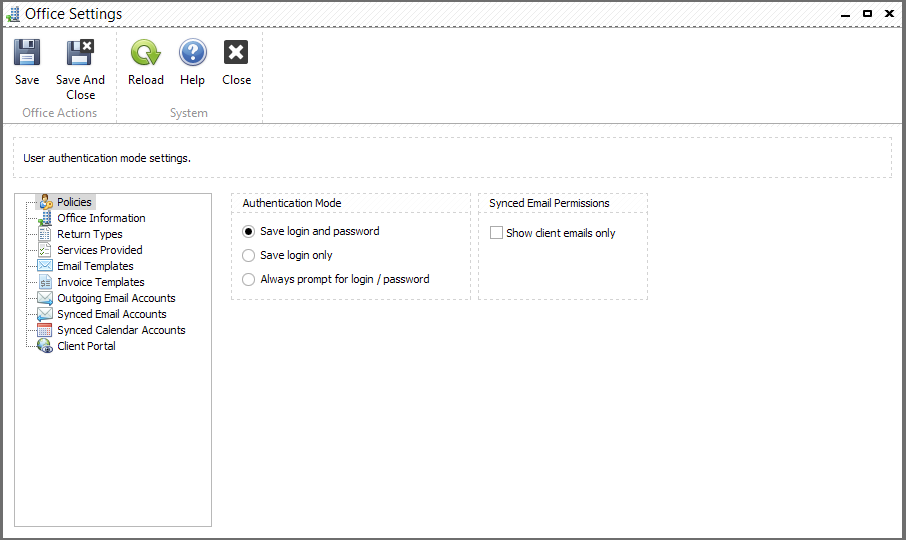
The "Policies" tab allows you to select an authentication mode and synced email permissions:
The "Office Information" tab allows you to fill out your office’s information.
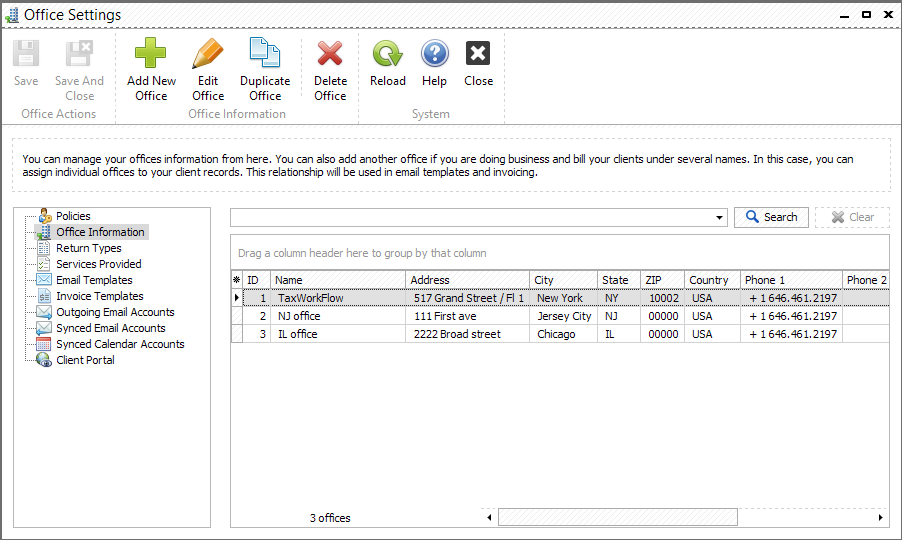
You can add another office if you are doing business and bill your client under several names. In this case, you can assign individual offices to your client records. This relationship will be used in email templates and invoicing.
To edit an existing office click a “Edit office” button or open it with left mouse button double-click. To add a new office click "Add new office" button. If you need to delete office click "Delete Office" button and "Office deletion wizard" will help you unlink the deleted office from tasks, projects, clients
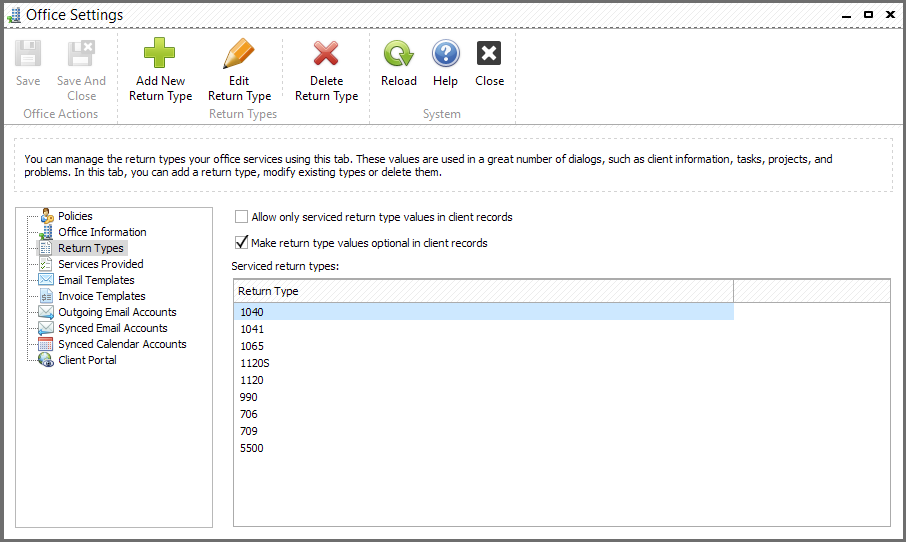
The "Return Types" tab allows you to manage the return types your office services. These values are used in a great number of dialogs, such as client information, tasks, projects, and problems. In this tab, you can add a return type, modify existing types or delete them.
You can block users from entering arbitrary Return Type values by checking the box "Allow only these serviced return type values in client records". This will make sure that only return types will be tracked that are serviced by your office, providing consistent view of the client records.
You can also use "Make return type values optional in client records" to allow users to skip entering return types in case it's not applicable to certain clients.
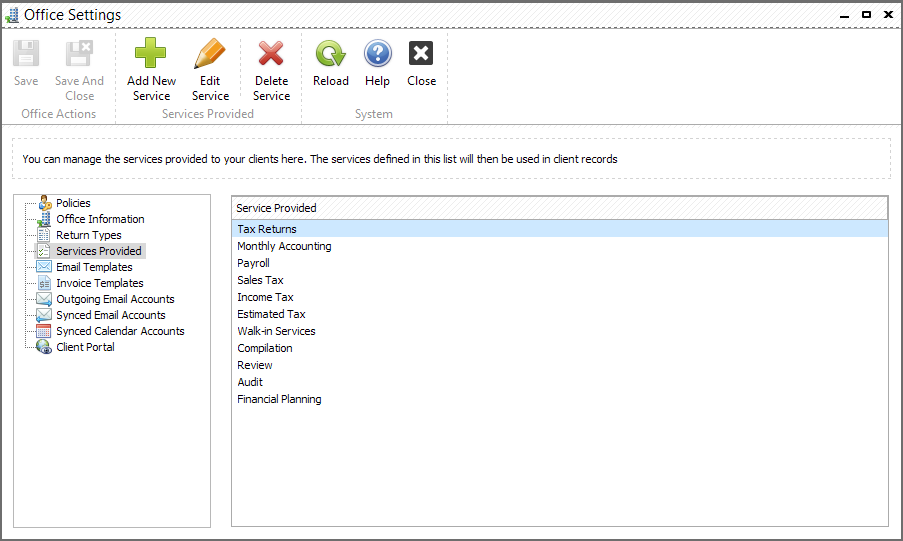
"Services Provided" tab allows you to manage services provided by your office.
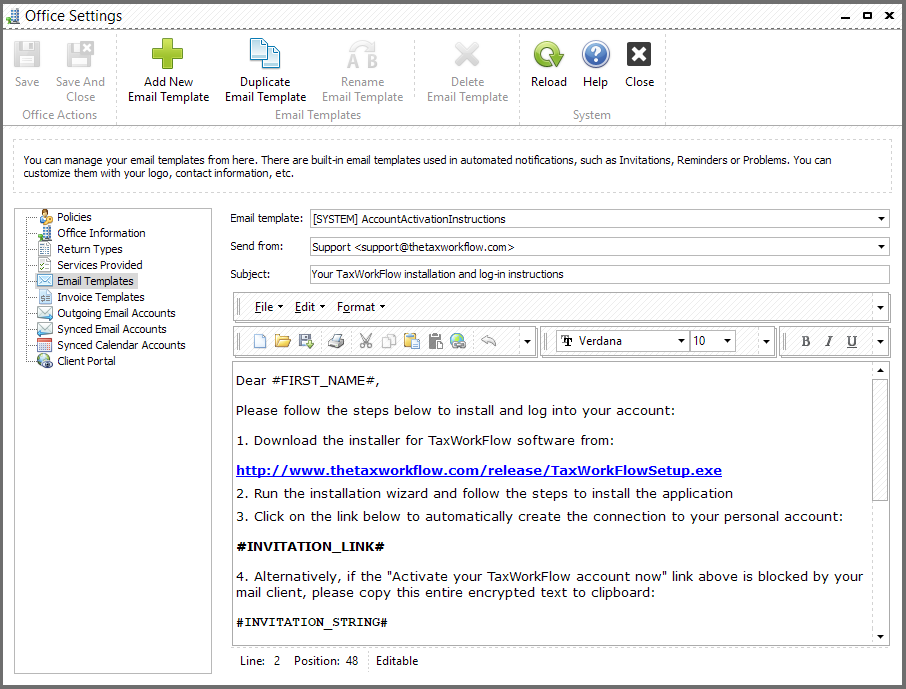
The "Email Templates" allows you to edit and save templates for your emails. There are built-in email templates used in automated notifications, such as Invitations, Reminders or Problems. You can customize them with your logo, contact information, etc.
You can also add your own email templates here by clicking "Add a new user template" button or you can duplicate and customize an existing template for a specific office by clicking "Duplicate Email Template" button.
For example, below is a template of account activation instructions. When you invite some user to TaxWorkFlow this template will be sent with your and user's details.
The following templates are also pre-built in TaxWorkFlow:
Template |
Usage |
|---|---|
Client Email Template |
Email to a client |
Client Portal Document Upload Email Template |
Notification of new documents uploaded by the client to the Portal |
Document Attachment Email Template |
Send documents as attachments to your clients |
Document Publication Email Template |
Send email notifications to clients when new documents are published to the TaxWorkFlow client portal asking the clients to review and get back with any comments |
Invoice Attachment Email Template |
Send the invoice as a PDF or XLS attachment to client for payment |
Password Reminder Email Template |
Send an email with the password reminder or a new password, either manually from TaxWorkFlow or automatically when the client requests the password when logging in to the client portal for the first time |
Problem Email Template |
Sending the list of unsolved problems to the client as an email reminder to follow up and resolve the problems, i.e. missing documents, unpaid invoice, etc. |
Project Creation Email Template |
Notification on new project creation |
Project Task Completion Email Template |
Notification on project task completion |
Referral Thank You Email Template |
Thank you message to the client who referred you client(s) |
Reminder email template |
Remind client about previously sent email (i.e. missing documents or unpaid invoice) that was not replied yet |
System message template |
Automatically compiled message regarding task/project completion and other user's actions |
Also, you can select from what email address each email template should be sent. The list of emails is available at "Send from:" field. To manage this list you need to open "Outgoing Email Accounts" tab.
"Invoice Templates" contains the list of available invoice templates. There is one system template. Also you can create your own templates using Excel-like functionality that allows you to customize template according your needs. "Duplicate Invoice Template" button allows you to duplicate the template for another office of your company:
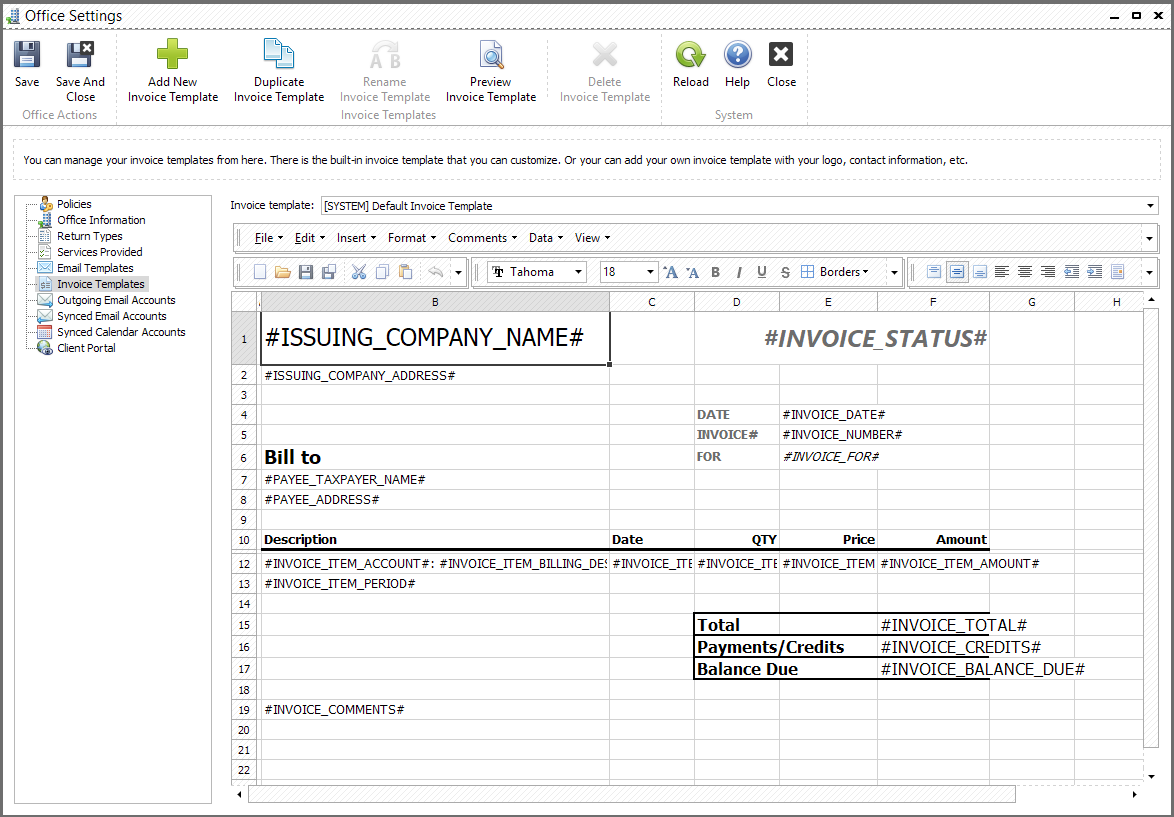
Please use the list of macros from Appendix B to create/edit invoice templates.
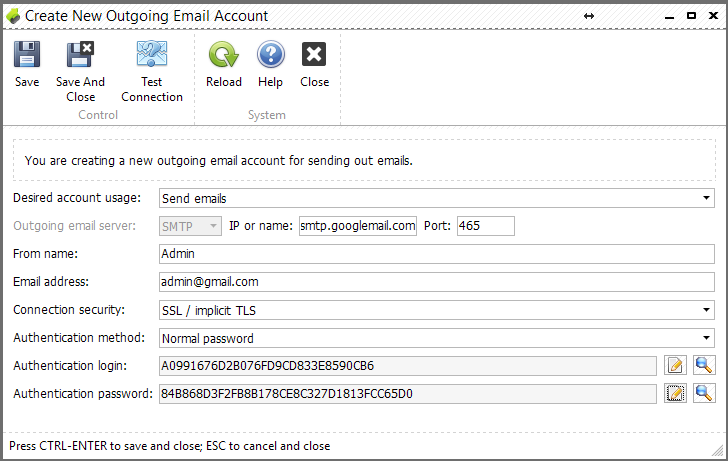
"Outgoing Email Accounts" tab is a place where you can manage your global outgoing email accounts that can be used to send notifications based on different email templates:

Here you can add and edit email accounts. Below is an example of "Create New Outgoing Email Account" form:
At the "Synced email accounts" tab you can manage email addresses synced with TaxWorkFlow. Adding an account to this tab allows you to receive email messages straight in TaxWorkFlow application.
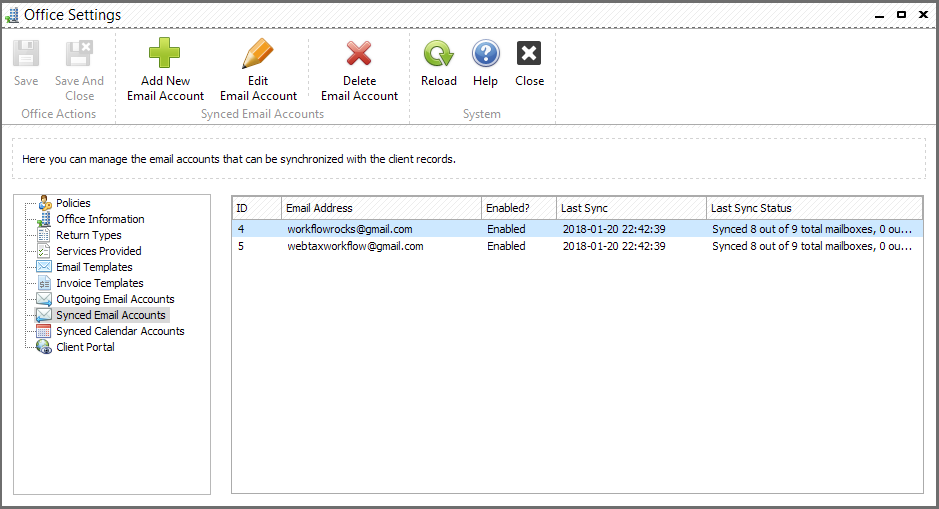
To add a new email account to the list click an appropriate button. In the appeared window you need to fill all fields with a data provided to you by your email service.

Sometimes your email service provider can block TaxWorkFlow to access your email account. If the email can't be synced you need to change your email account settings. Find out how in the next chapter.
At the Calendar Accounts tab you can manage calendars synced with TaxWorkFlow:
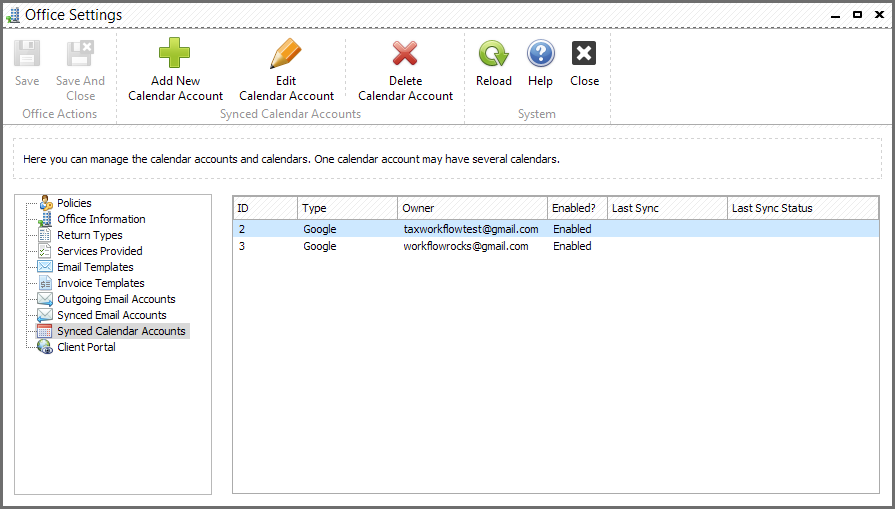
If you need to add a new calendar click an appropriate button and click "Authorization" in the "Edit Calendar Account Settings" form:
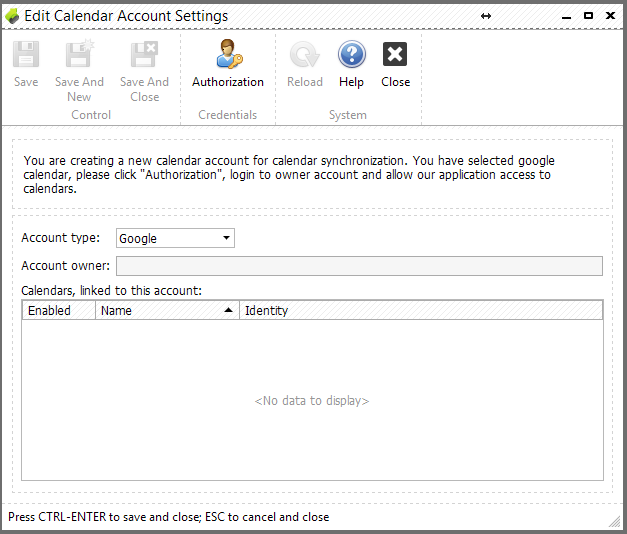
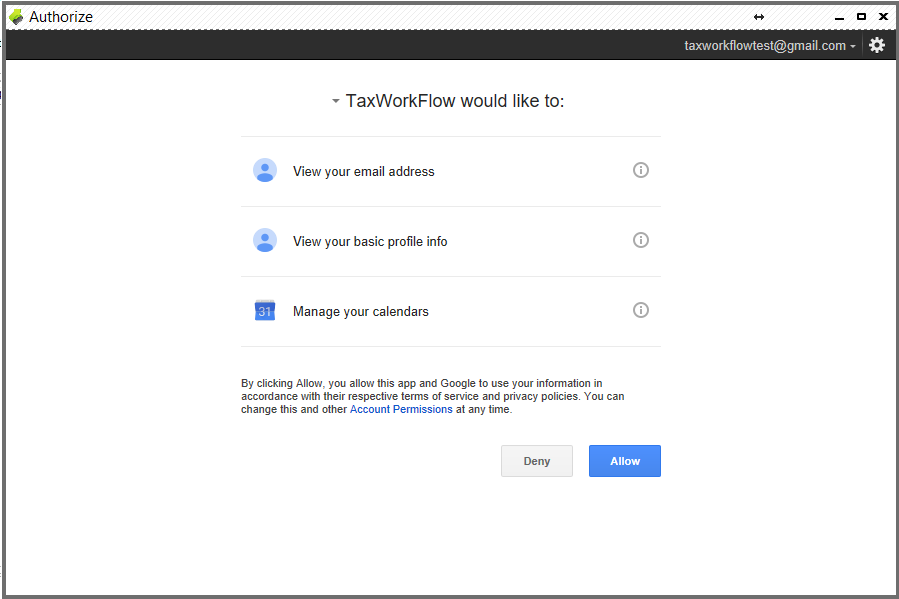
In the appeared form enter your credentials and than allow TaxWorkFlow to get an access to the data it requests by clicking "Allow" button.
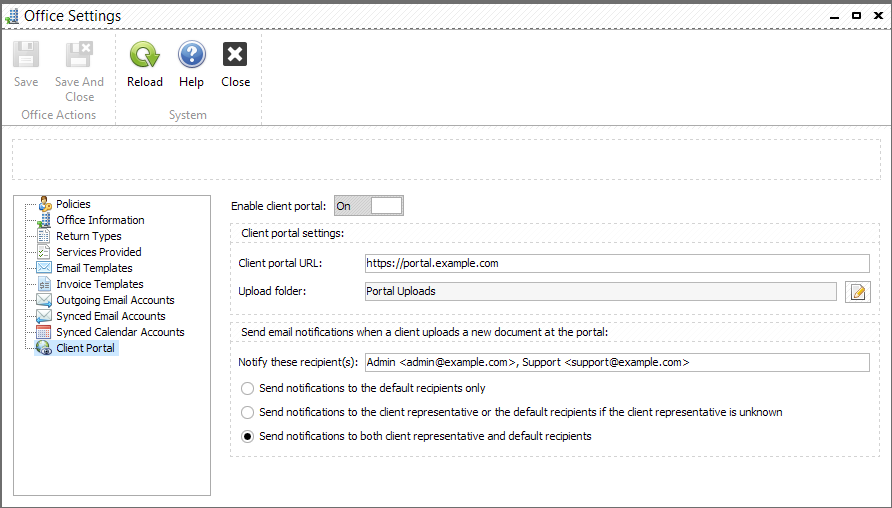
Client Portal tab contains portal URL. Here you can change the "Upload folder" - folder where all uploaded files must be placed. Also here you can select who should receive email notifications regarding uploads. Define default recipients if necessary and select one of the following options:
•Send notifications to default recipients only
•Send notifications to the client representative or default recipients if client representative is unknown
•Send notifications to both client representative and default recipients