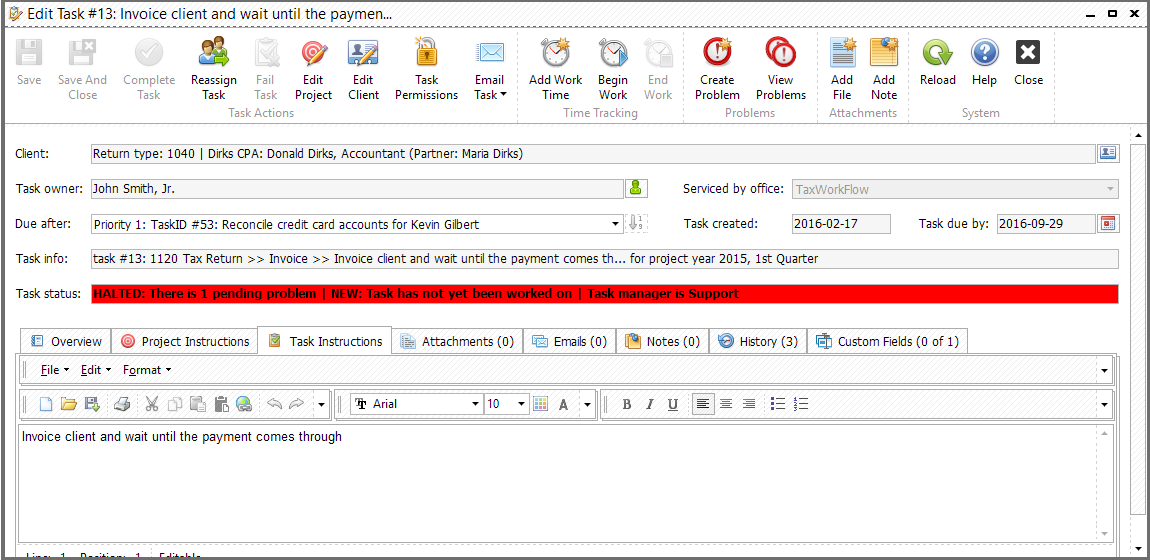
When you create a problem on a task, you can’t complete it until the problem is solved. Below are examples of tasks with and without problems.
Task with problem (the “Complete” button is disabled):
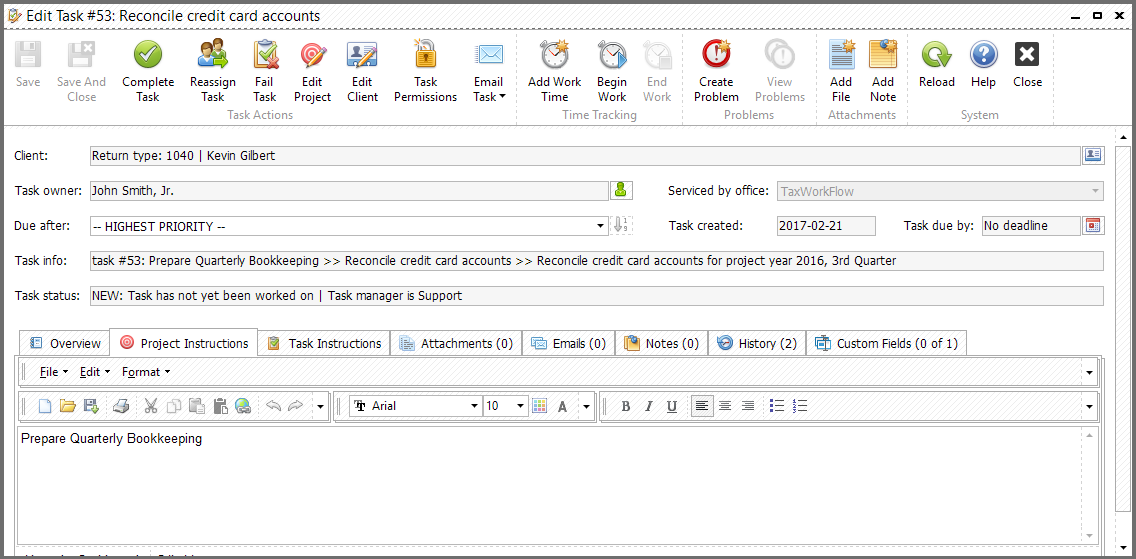
Task without problem:
In order to solve a problem, select the "View problems" button on the Edit Task or View Tasks forms. The list of problems will appear:
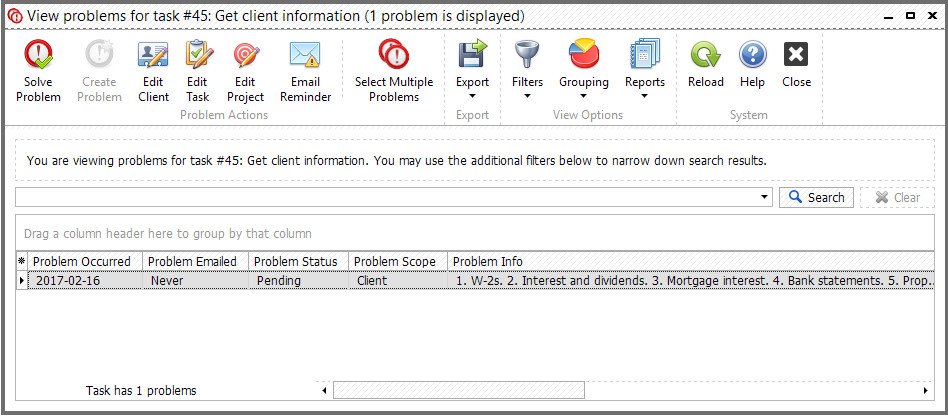
From this list, you can review task problems, email a reminder or solve problems.
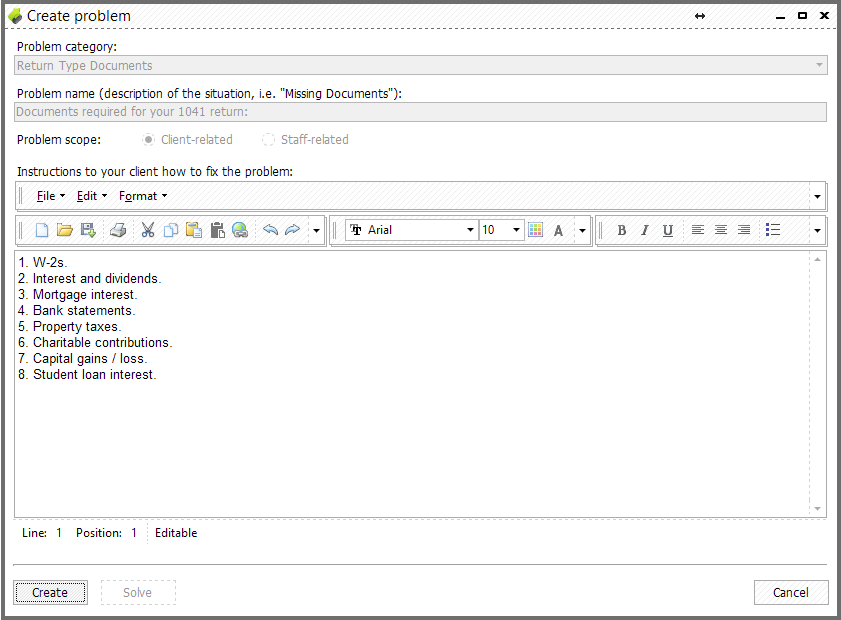
To create a problem select the task or project and click "Create problem" button.
All available problems are shown in the list, all you have to do is to select one and to create it by clicking a "Create problem" button on the top of the form. If you need to create multiple problems click "Select Multiple Problems" button and check problems that you need to be created. You can also create a problem with a custom info by double-click of the left mouse button or by clicking a right mouse button and selecting "Create problem with customized instructions" from the drop-down menu:

Here's a form that you can edit choosing to create problem with a custom info:
By raising the problem, you will effectively put a road block on the further execution of the project until you receive the missing information from the client.
You can also automatically create problems based on the workflow rules. See the problem triggers section for more information about how accomplish this.
To view currently open problems for all tasks in the system, select “Workflow"> "View problems” or press F9:
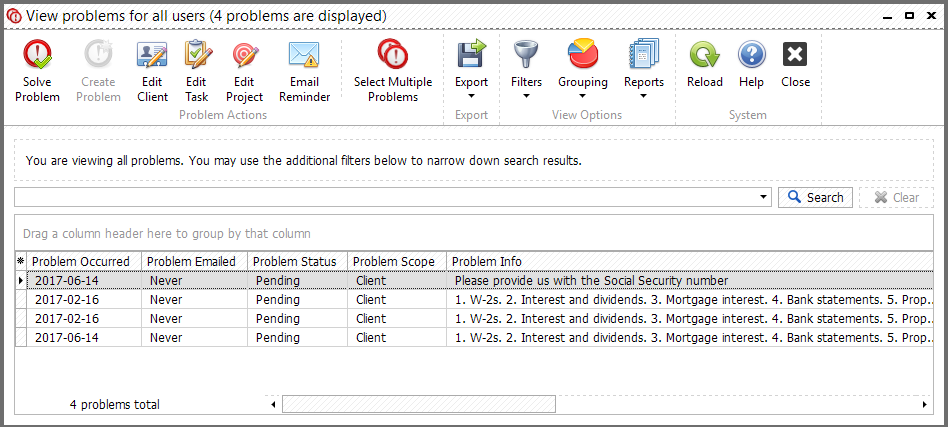
From this list, you can drill down to the project and task that triggered problems, as well as email reminders.
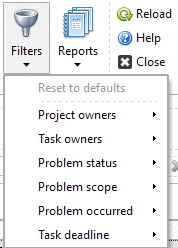
In the "View problems" window you can apply the following filters:
To save your grid to use it in future you can save it as a report. Read more about reports in "Reports Management" chapter.