There are several ways to upload documents to the system.
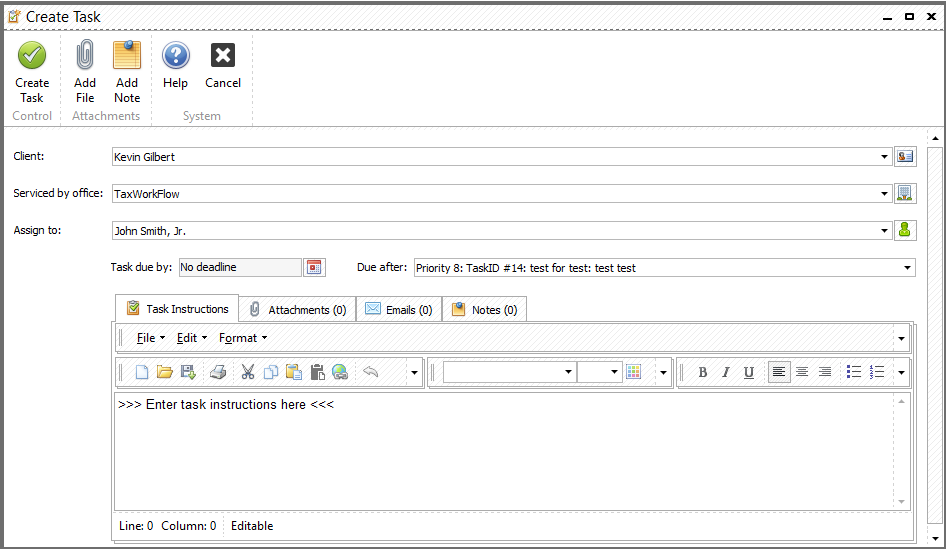
•You can upload documents from the project’s or task’s edit view by clicking the "Add File" button at the top of the form:
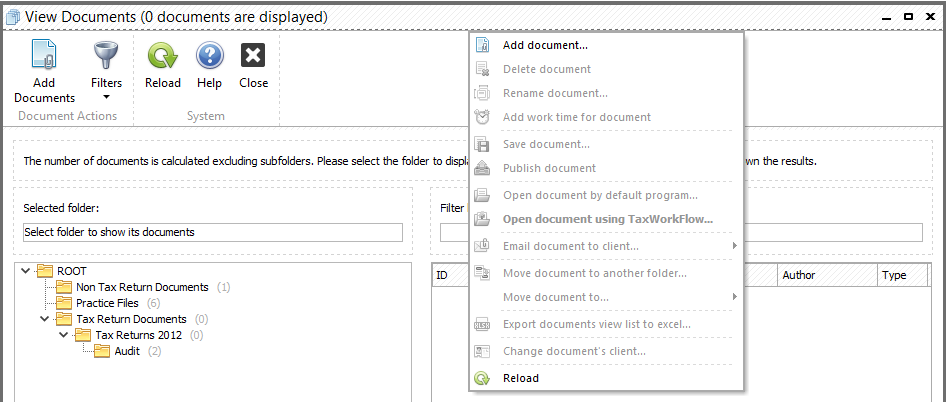
•You can upload documents from the “View Documents” form by clicking "Add Documents" button at the top of the form. Another way is to select a folder, click right mouse button at the field where uploaded documents shown and select “Add document…” or you can click right mouse button straight on the folder in the folder's tree where you want to add the document.
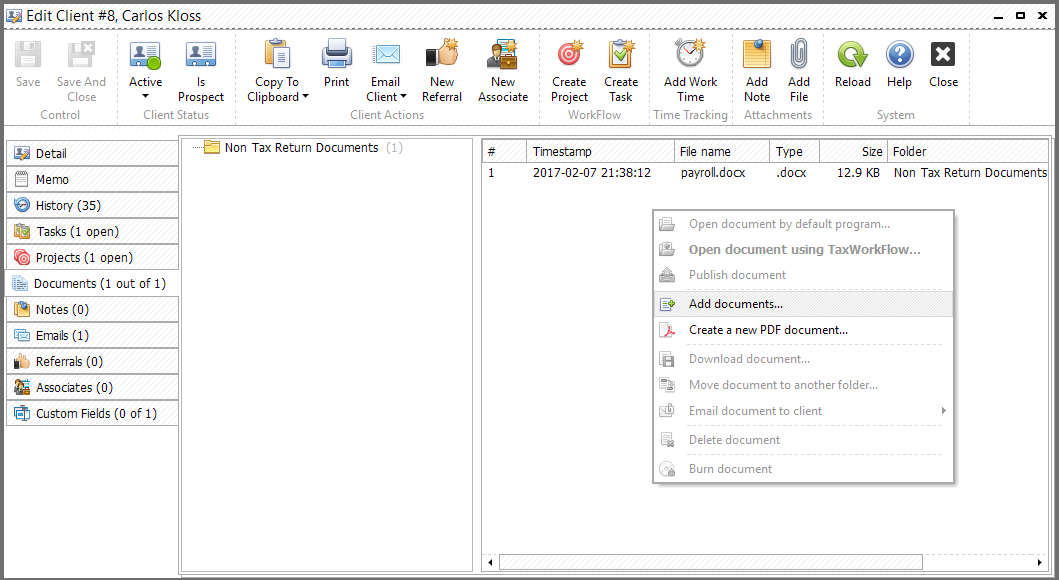
•Documents can be uploaded from the client’s view form at the “Documents” tab in the middle of the form. Click your right mouse button at the field and choose “Upload document” from the pop up menu:
•You can select "Clients >> Import documents from folder..." to import several documents at once. Before importing make sure that folders are named by client's names to whom they are intended. If you want to import a folders tree name folders inside the client's folder accordingly to the folders tree from the database. Find the "importing documents from folder" form below:

•You can drag-and-drop documents to the “View documents” form which was described in the “Finding documents” section.
•Documents can be uploaded automatically from your PC. Special application - TaxFlowService will automatically make replications of all folders from TaxWorkFlow so if you scan a document and save it in some replicated folder (for example, /Tax Year 2013/DRAFT 2013) this document will be automatically uploaded to TaxWorkFlow to the folder with the same name. You must save files in a special way mentioning customer’s id in the name of file so it’ll be stored for this customer in TaxWorkFlow. After the document was uploaded you’ll get a notification to your email about it.
•You can print document in PDF format straight to the database from any editor using PDF printer.
Please note that you can use drag-and-drop in all uploading scenarios as well.
Uploading the document you need to choose a client and a folder for it. Client will be selected automatically if you attach files to project or task related to this client:
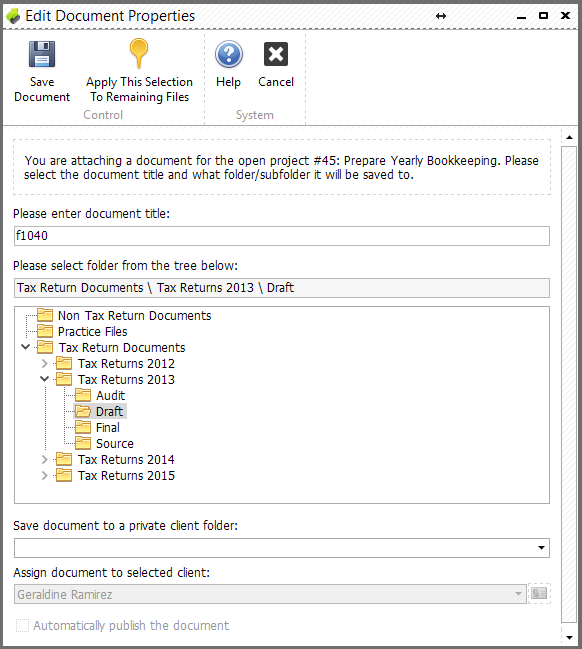
Tip: "Uploading several files click "Apply this selection To Remaining Files" button if you need to store all files in one folder."
You can use documents in "Problems". For example, if you need to get some payment for a baby, the customer must send you a birth certificate. You can create a project problem and TaxWorkFlow won’t let you close the project until the document was sent to you and you close the problem. See more about projects at “Projects and Tasks Management” and more about problems at “Problems Management”.
You can find out who and when uploaded some document in "User activity" window. Find out more information about it in "User activity" chapter of this guide.